Your Cart is Empty


Carp fishing 3/6/2026
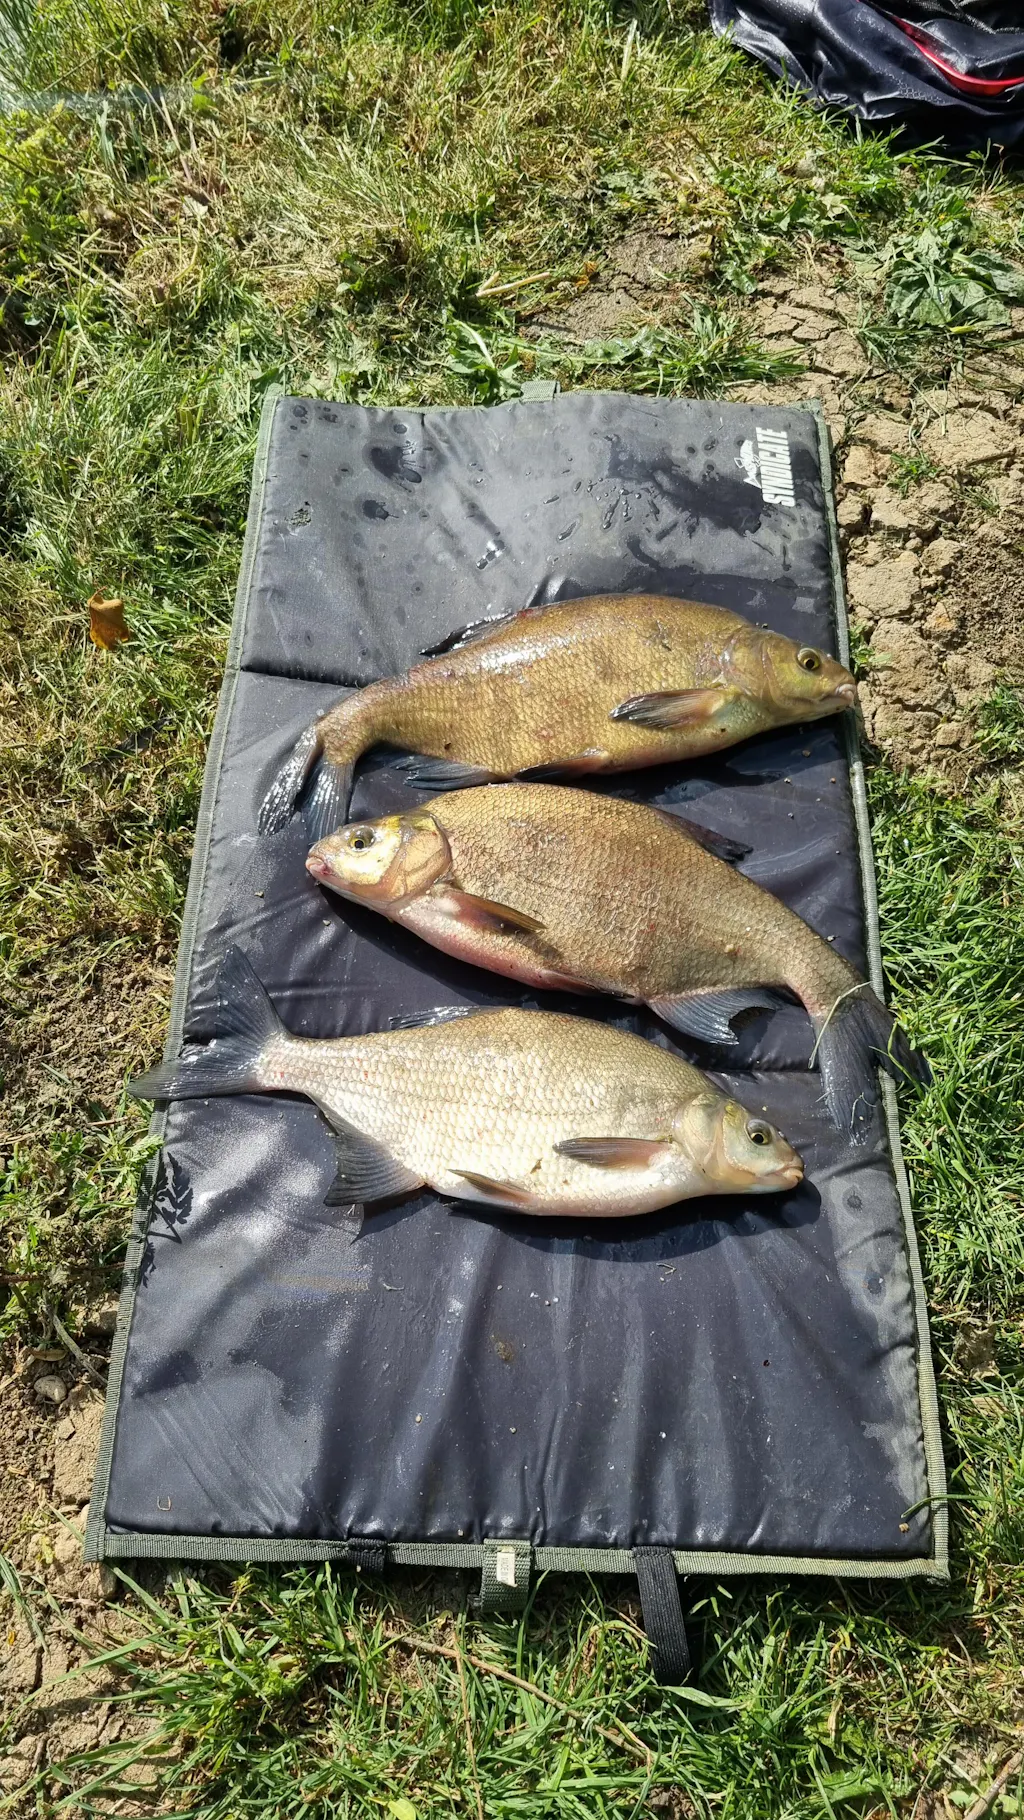
Used for the first time today, reasonably successful day although very windy and
heavy showers. Three good carp between 6 and 9lb on ledgered tiger nuts, on a
hair rig.
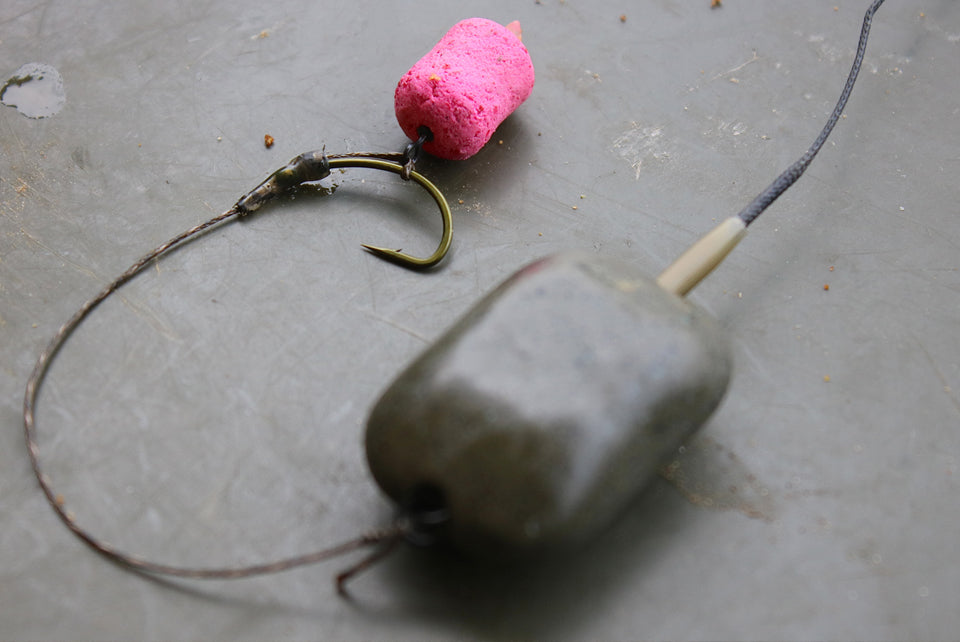
Always Quality !
Stocked up on some tutti fuitti boilies and oil and as usual they're doing the business catching me good fish where others around me struggle. I can't recommend these enough, almost 40 years on and still catching. Superb.
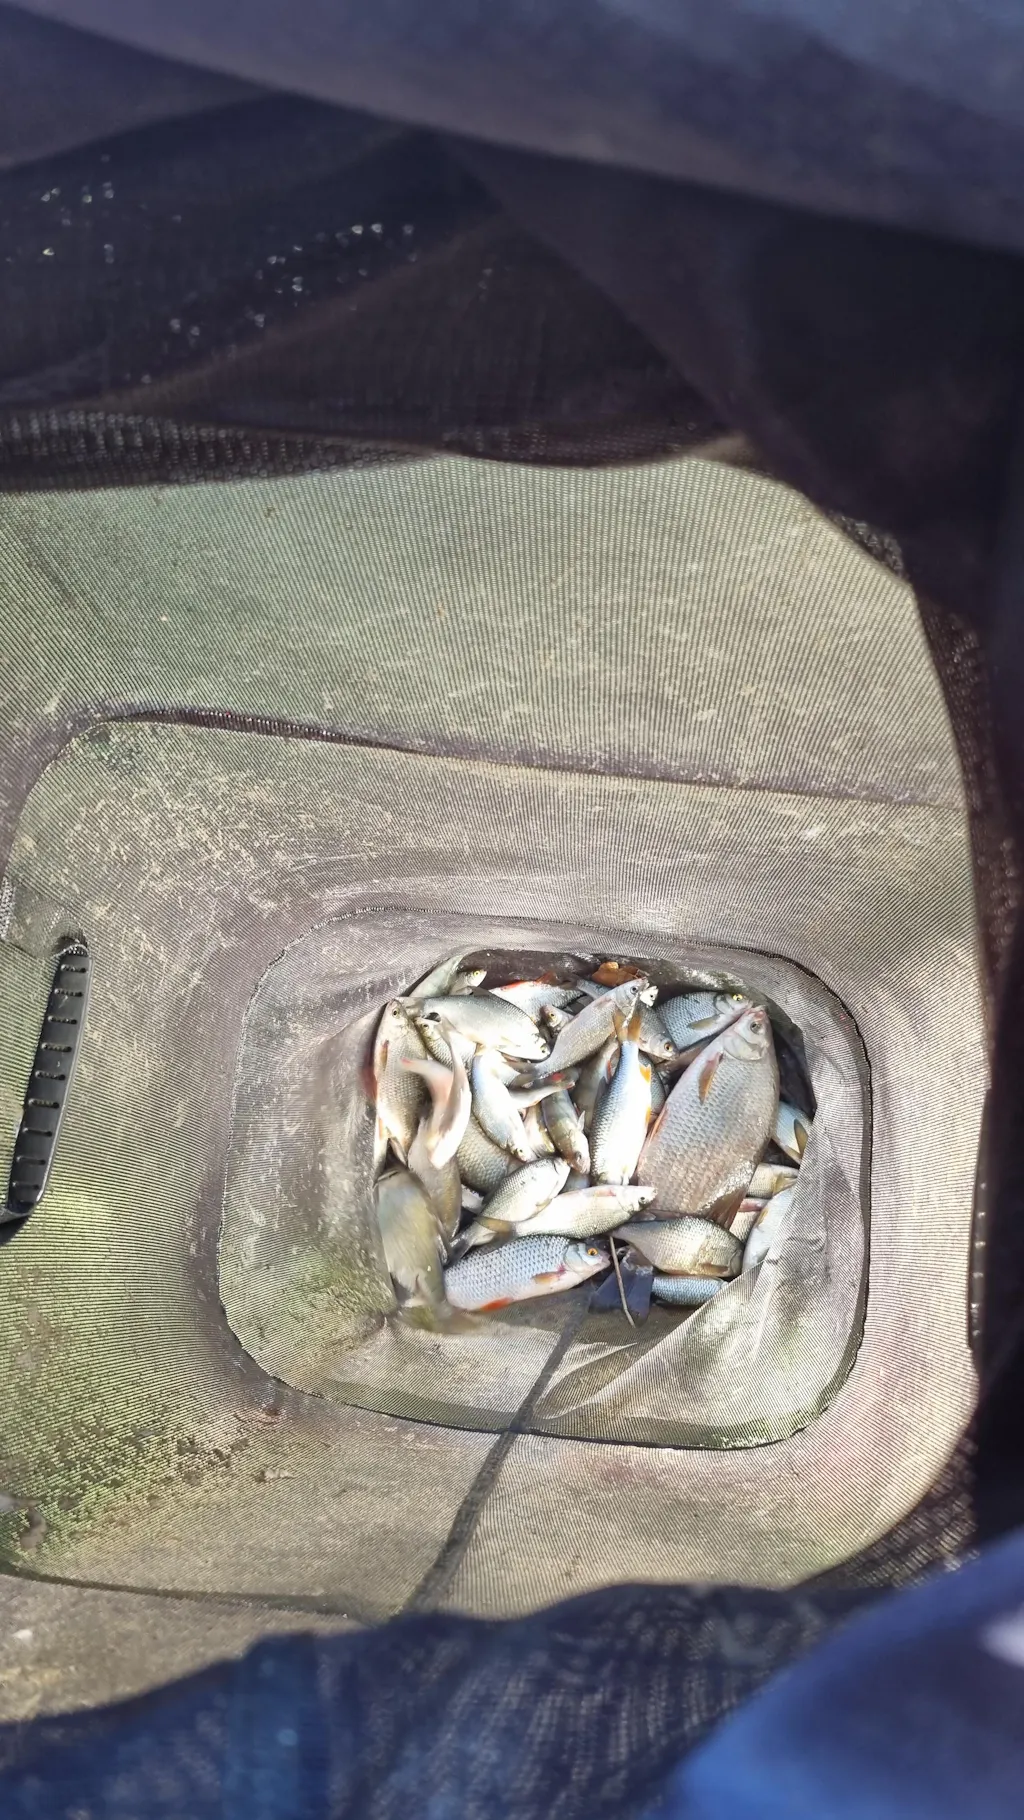
Nicely bagged up on the canal ![User picture]()
![User picture]()
![User picture]()
Bagged up twice on the Oxford canal with natural black. Ive read online it could do with some mixed crumb in the summer but both times it wasnt needed. Bream, roach and skimmers galore